

Dress pants that are too long can look untidy, while pants that are too short can throw off the overall fit.
A well-finished hem helps your pants look polished and feel more comfortable to wear.
Fortunately, hemming dress pants at home is a straightforward project that does not require advanced sewing skills.
In this guide, you will learn how to hem dress pants step by step. We will cover measuring the correct length, marking and cutting the fabric, and creating a clean, professional-looking hem.
Whether you prefer sewing by hand or using a sewing machine, these techniques can help you achieve great results and get the perfect fit for your pants.
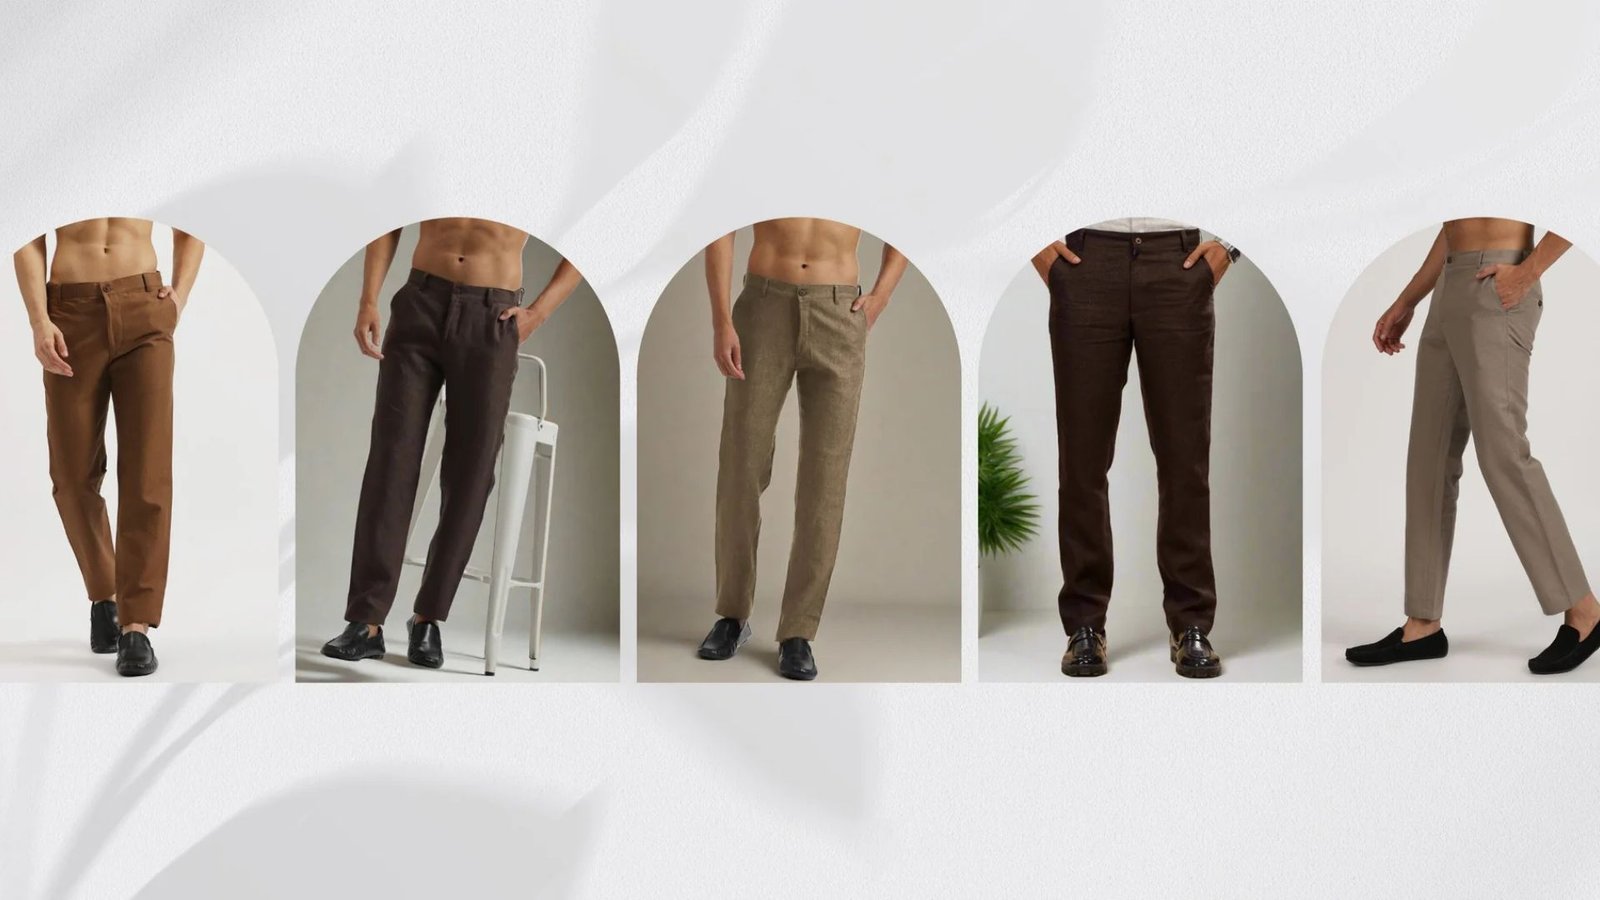
Understanding Dress Pant Hem Length
Before you cut or sew anything, you need to know the right length for your pants. Dress pants should end somewhere between your ankle and the top of your shoe.
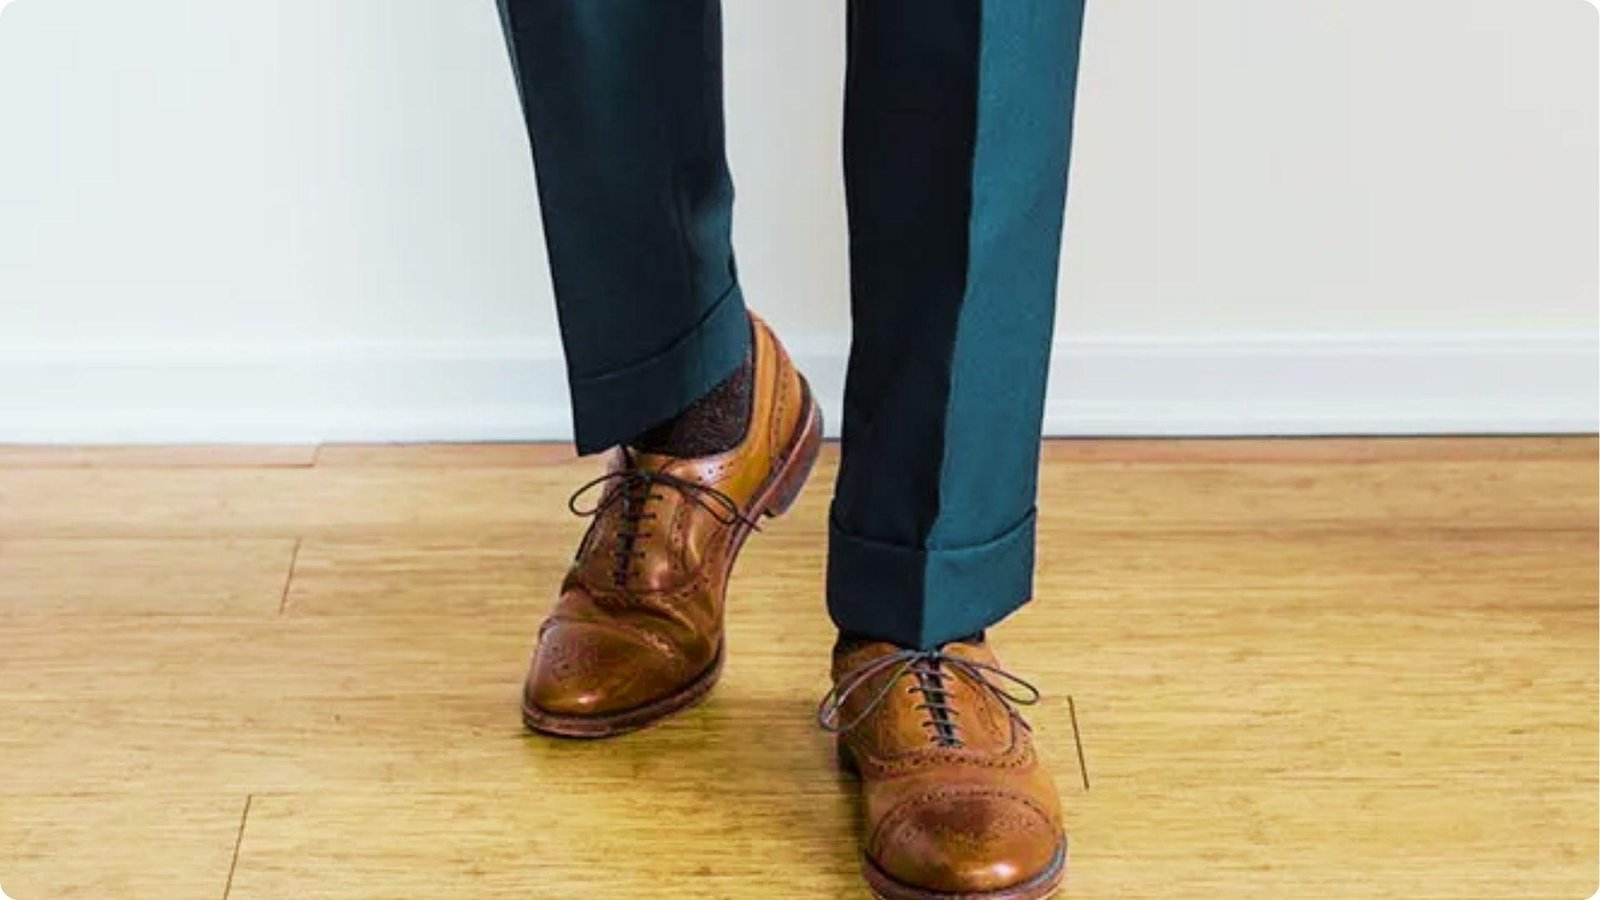
The amount of fabric that rests on the shoe is called the break. A full break gives a relaxed look. A half break is the most common choice.
No break looks clean and modern. The shoes you wear also change the ideal length. Always check the length while standing and wearing the shoes you plan to pair with the pants.
Tools You Need to Hem Dress Pants
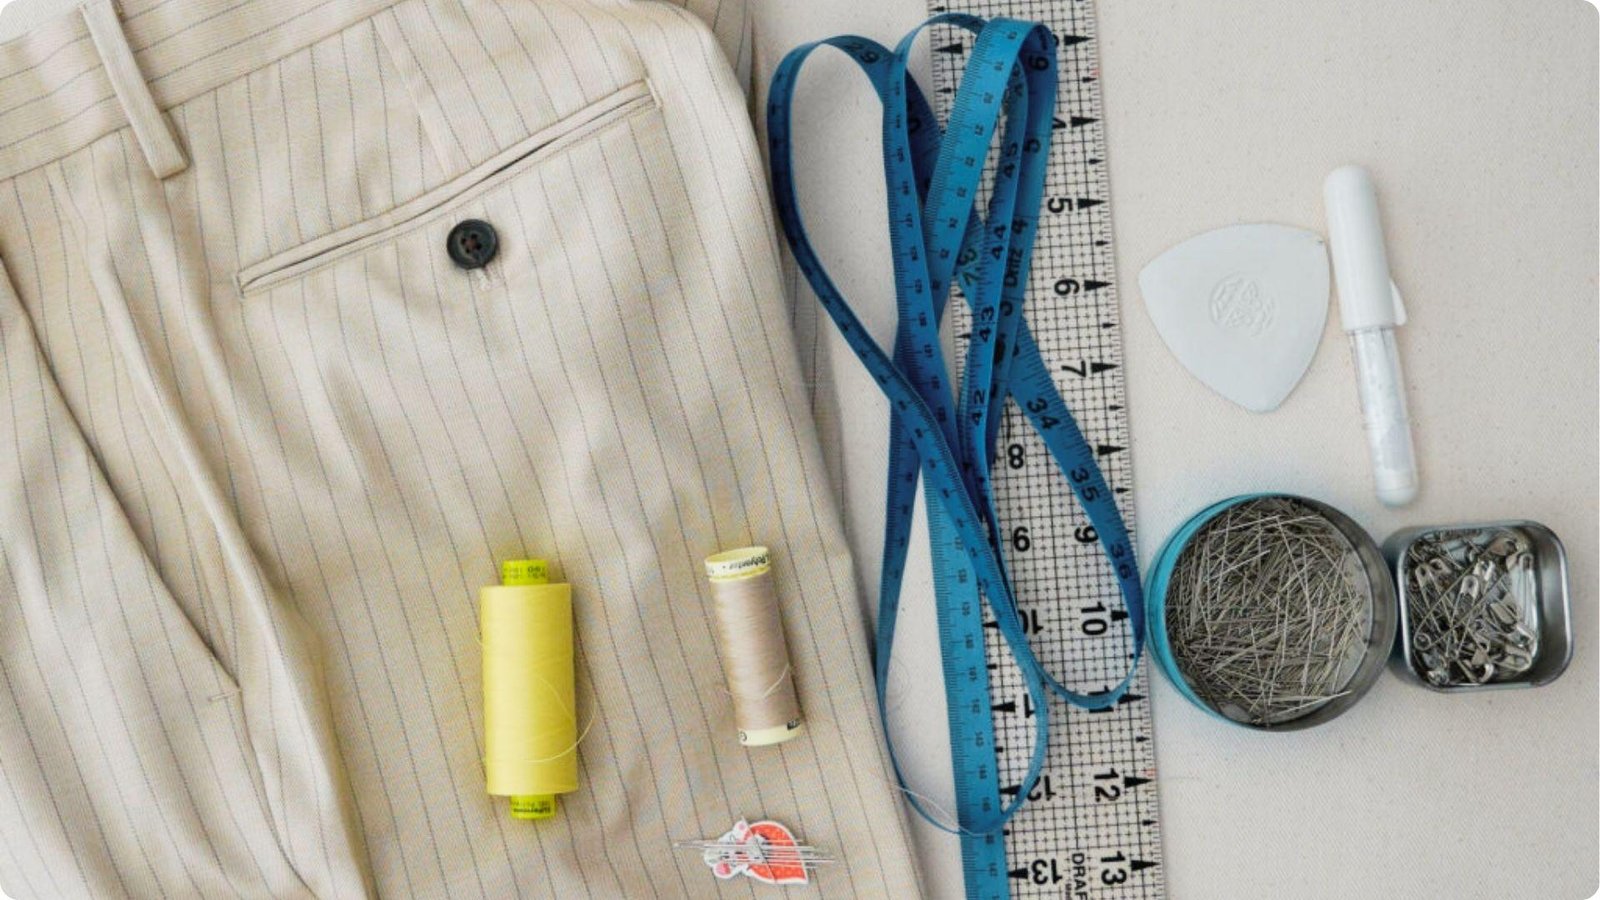
Having the right tools on hand makes the whole process smoother and quicker.
Basic Sewing Supplies for Beginners
You need a measuring tape, fabric chalk, straight pins, scissors, and a needle and thread. Most beginners already have a few of these at home.
Tools Required for Hand Hemming Dress Pants
For hand hemming, you need a hand sewing needle, matching thread, a seam ripper, an iron, and an ironing board. A blind stitch needle works best to keep stitches hidden on the outside.
Tools Required for Hemming Dress Pants With a Sewing Machine
You will need the machine, matching thread, sewing needles for medium-weight fabric, a seam ripper, pins, fabric chalk, and an iron. A hem gauge also helps keep the fold even all the way around.
Optional Tools for a More Professional Finish
A hem gauge keeps your measurements consistent, and hem tape lets you bond fabric without sewing at all. These are not required but make the final result look much cleaner.
How to Hem Dress Pants Step-by-Step
Follow these steps carefully and you will have a clean, even hem that looks like it was done by a pro.
Step 1: Try On Pants and Mark the Ideal Length
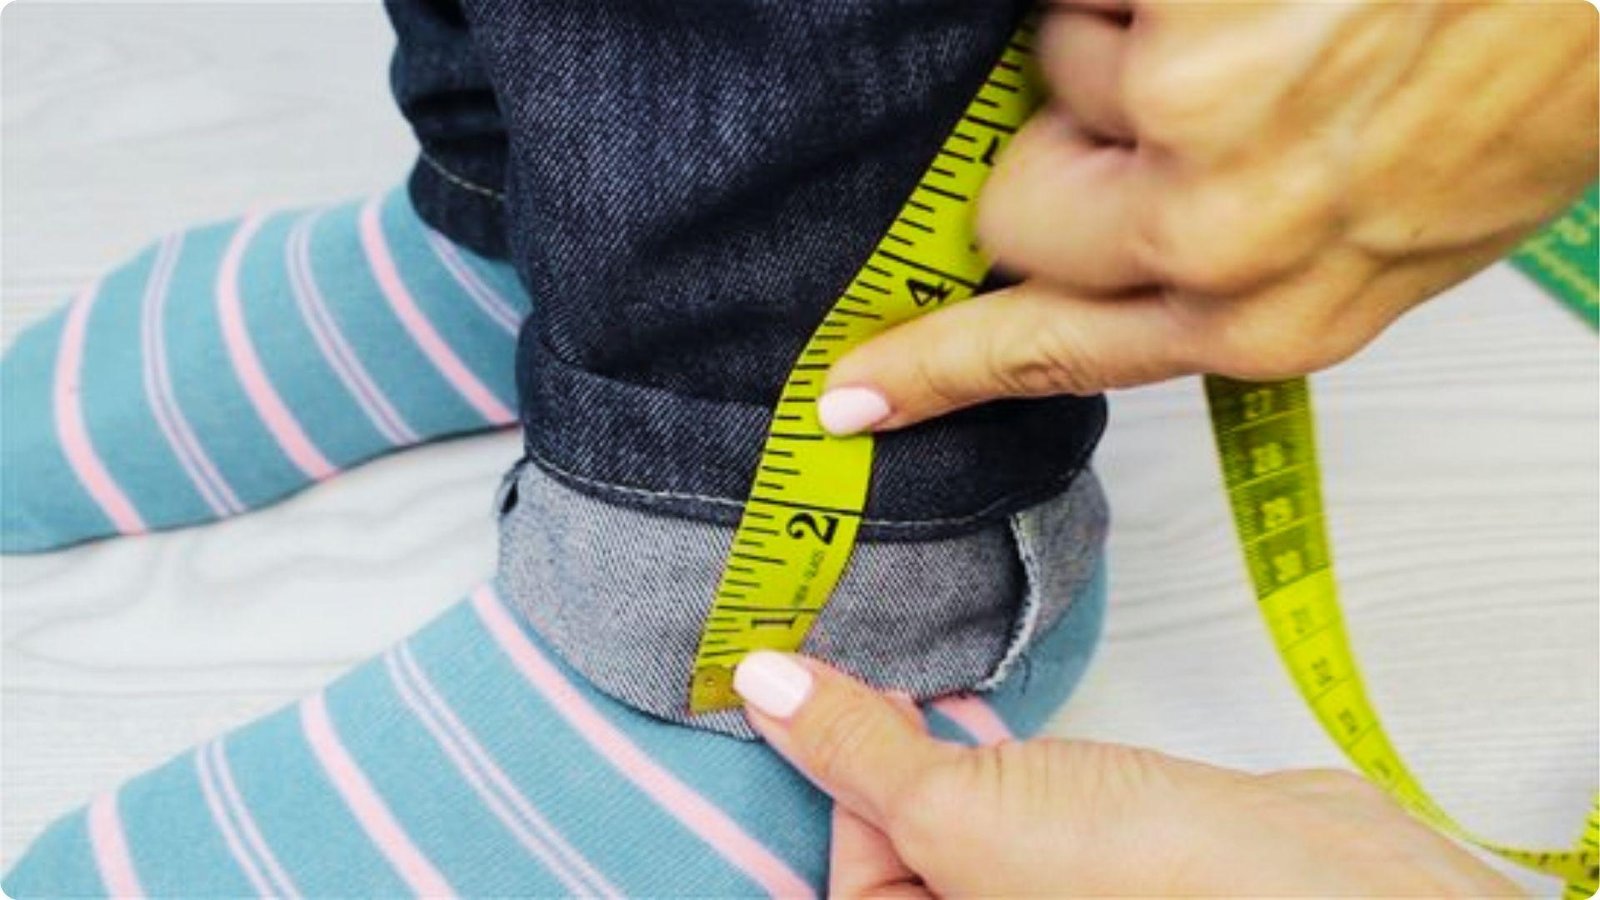
Put on the pants with the shoes you plan to wear and stand straight in front of a mirror. Use fabric chalk or a pin to mark where you want the hem to fall.
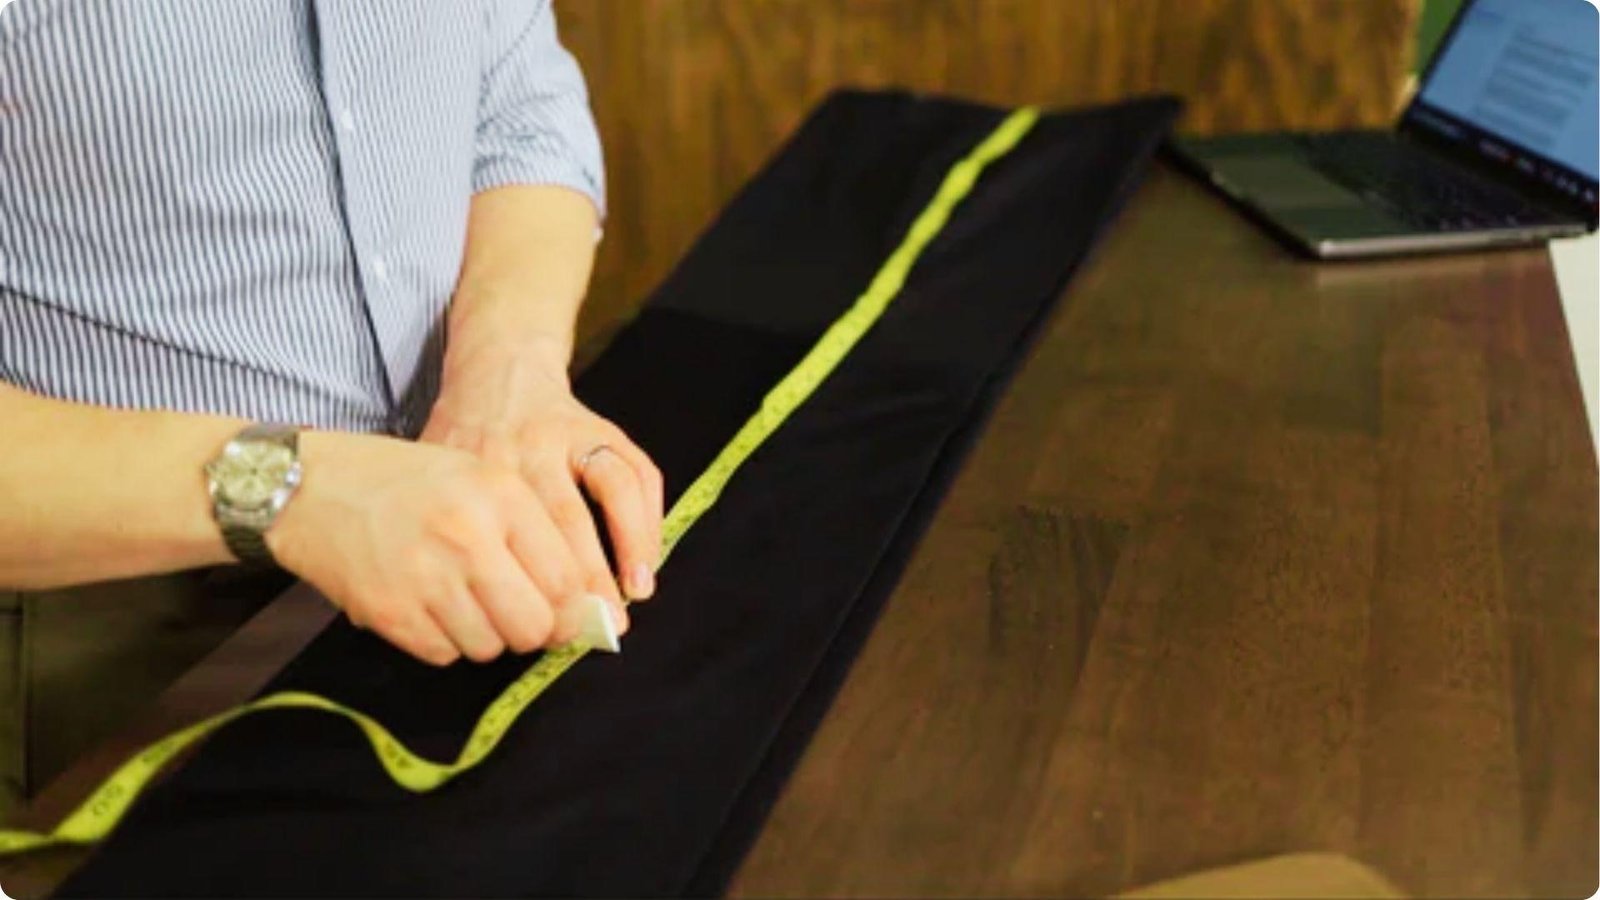
Step 2: Measure and Create an Even Hemline
Lay the pants flat and use a measuring tape to check the mark is even all the way around. Draw a clean, straight line at that point using a ruler and chalk.
Step 3: Remove Old Hem and Prepare the Fabric
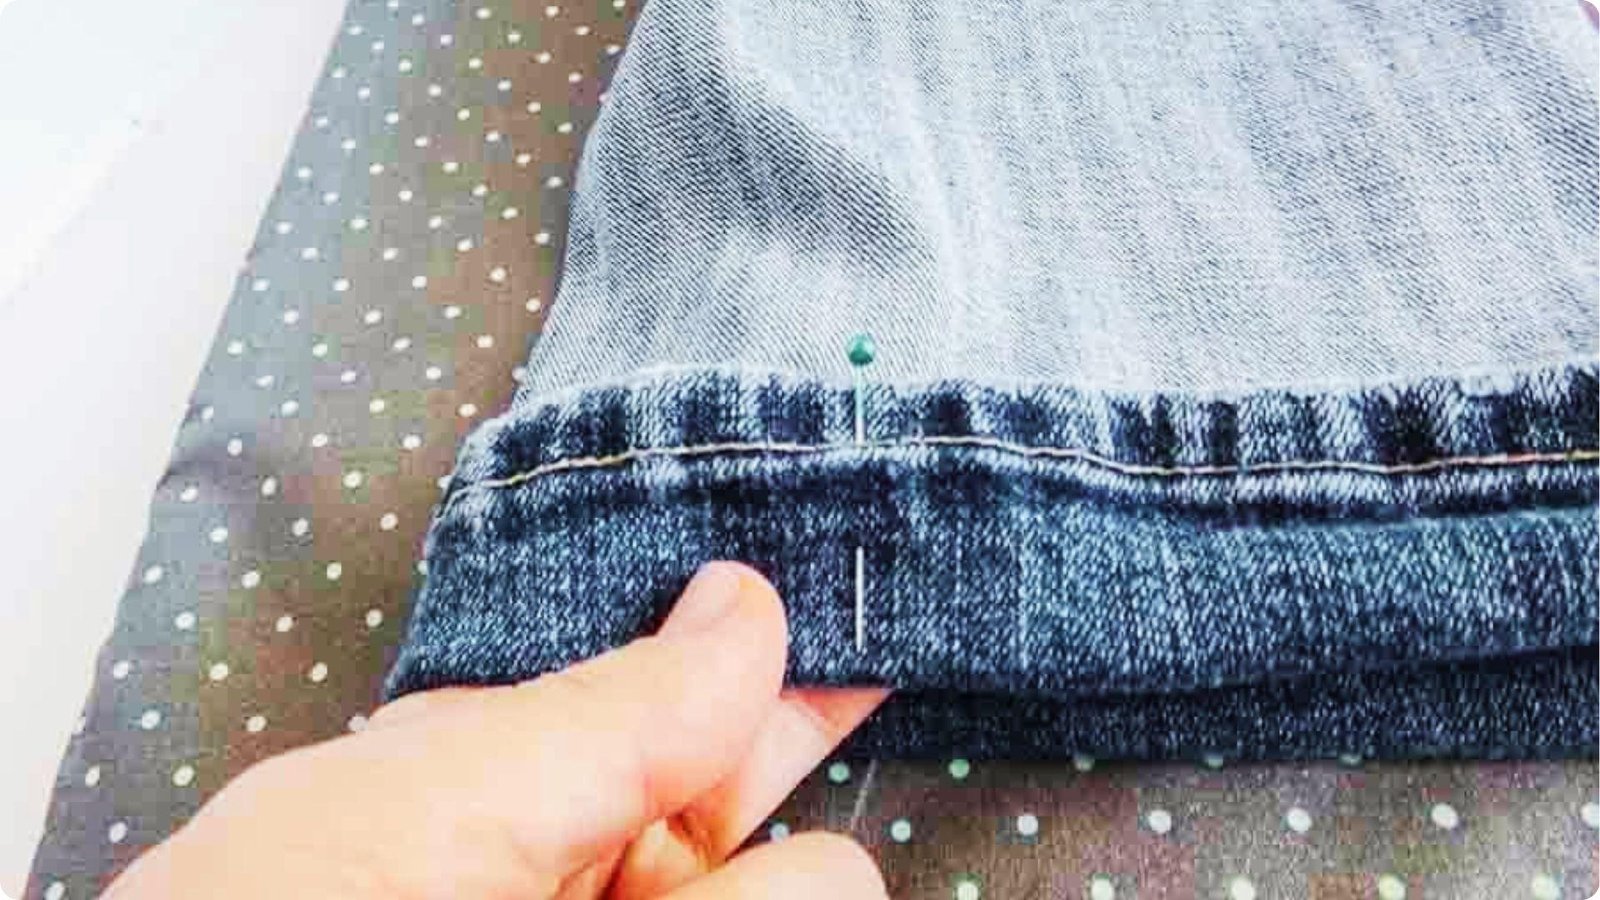
Use a seam ripper to carefully remove the old stitching, then press the fabric flat with an iron. This removes old fold marks and gives you a clean surface to work with.
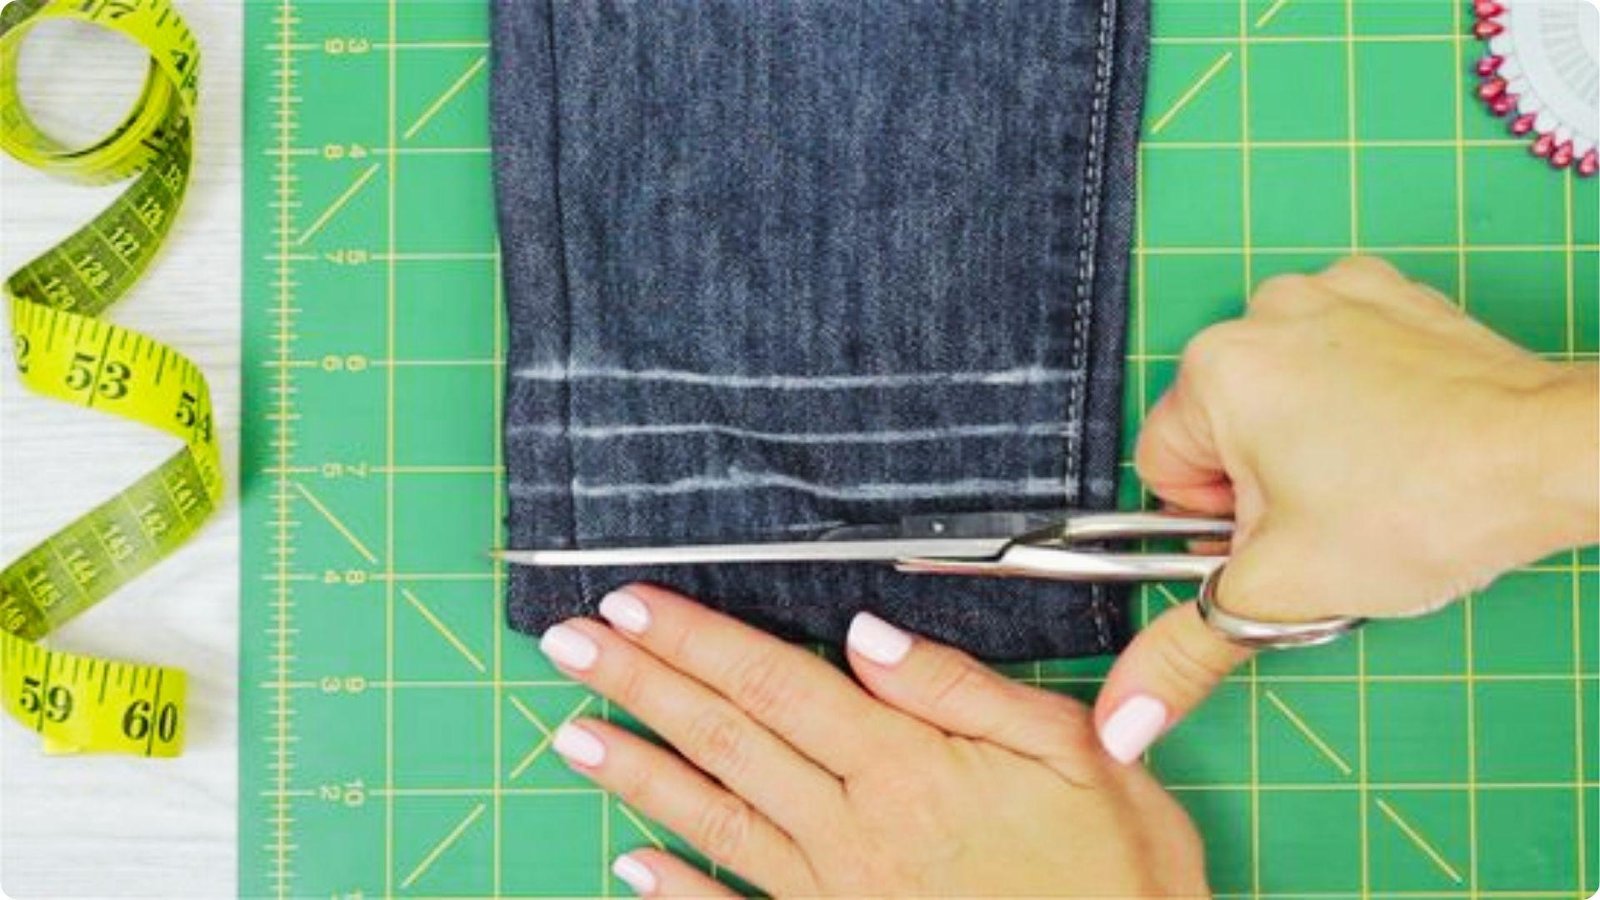
Step 4: Cut and Press the New Hem
Leave one to one and a half inches below the new hem line as seam allowance, then cut off the rest. Fold the fabric up, press it, fold again to hide the raw edge, and press once more.
Step 5: Sew and Finish the Hem
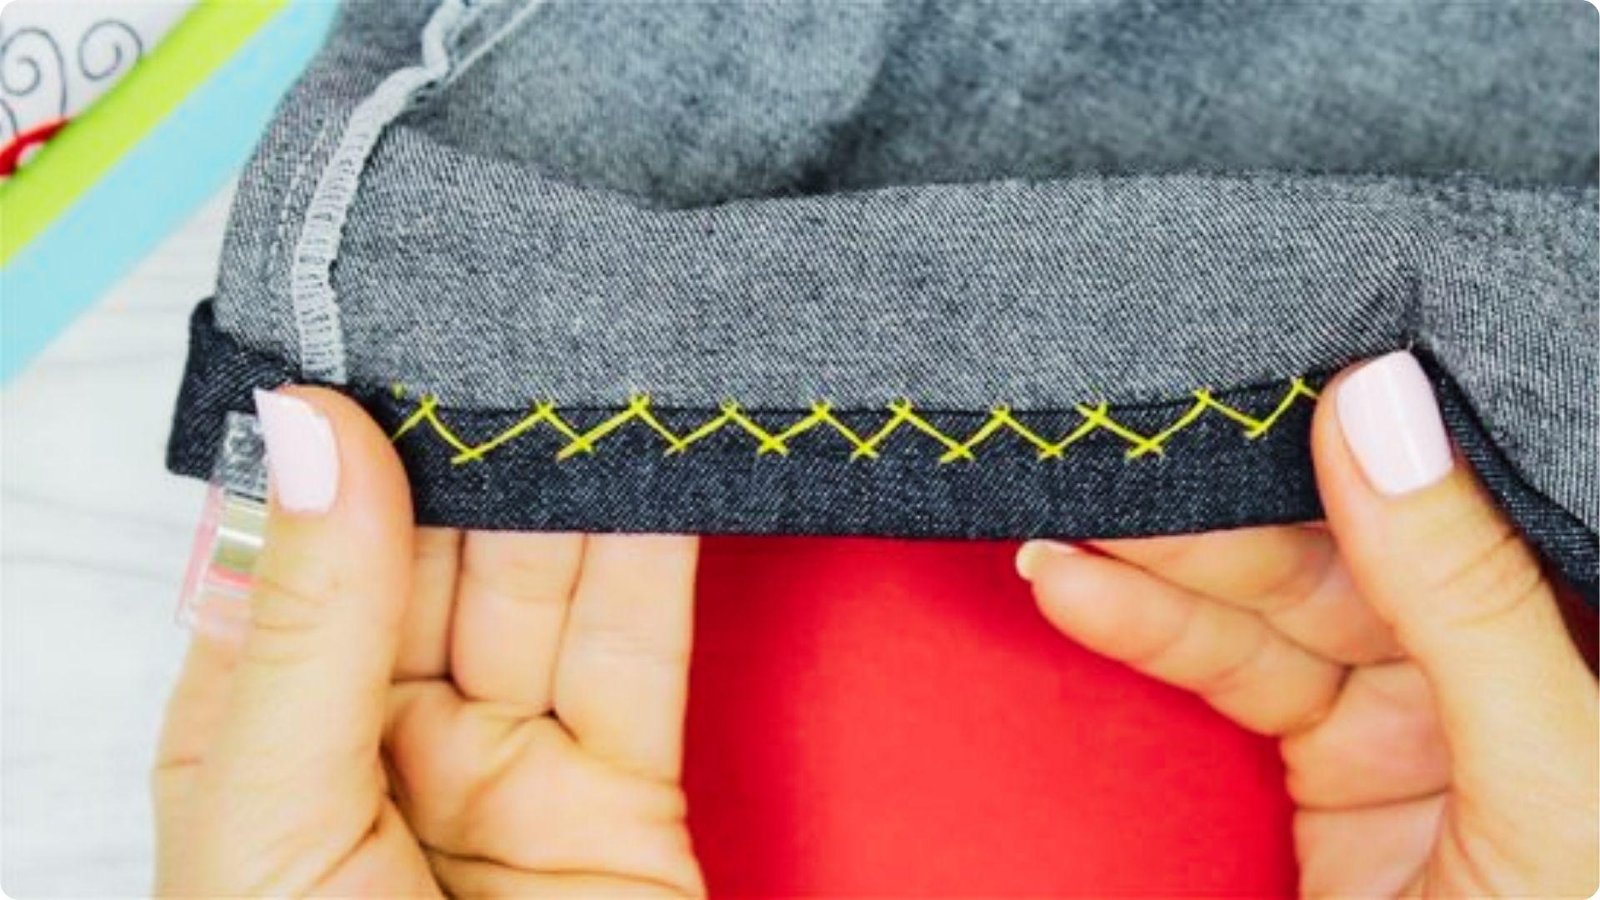
For hand sewing, use a blind stitch and keep stitches small and even. For machine sewing, use a straight stitch near the folded edge and backstitch at both ends to lock it in place.
Choosing the Right Hem Style for Dress Pants
The hem style you pick changes how the whole outfit looks, so it is worth thinking through.
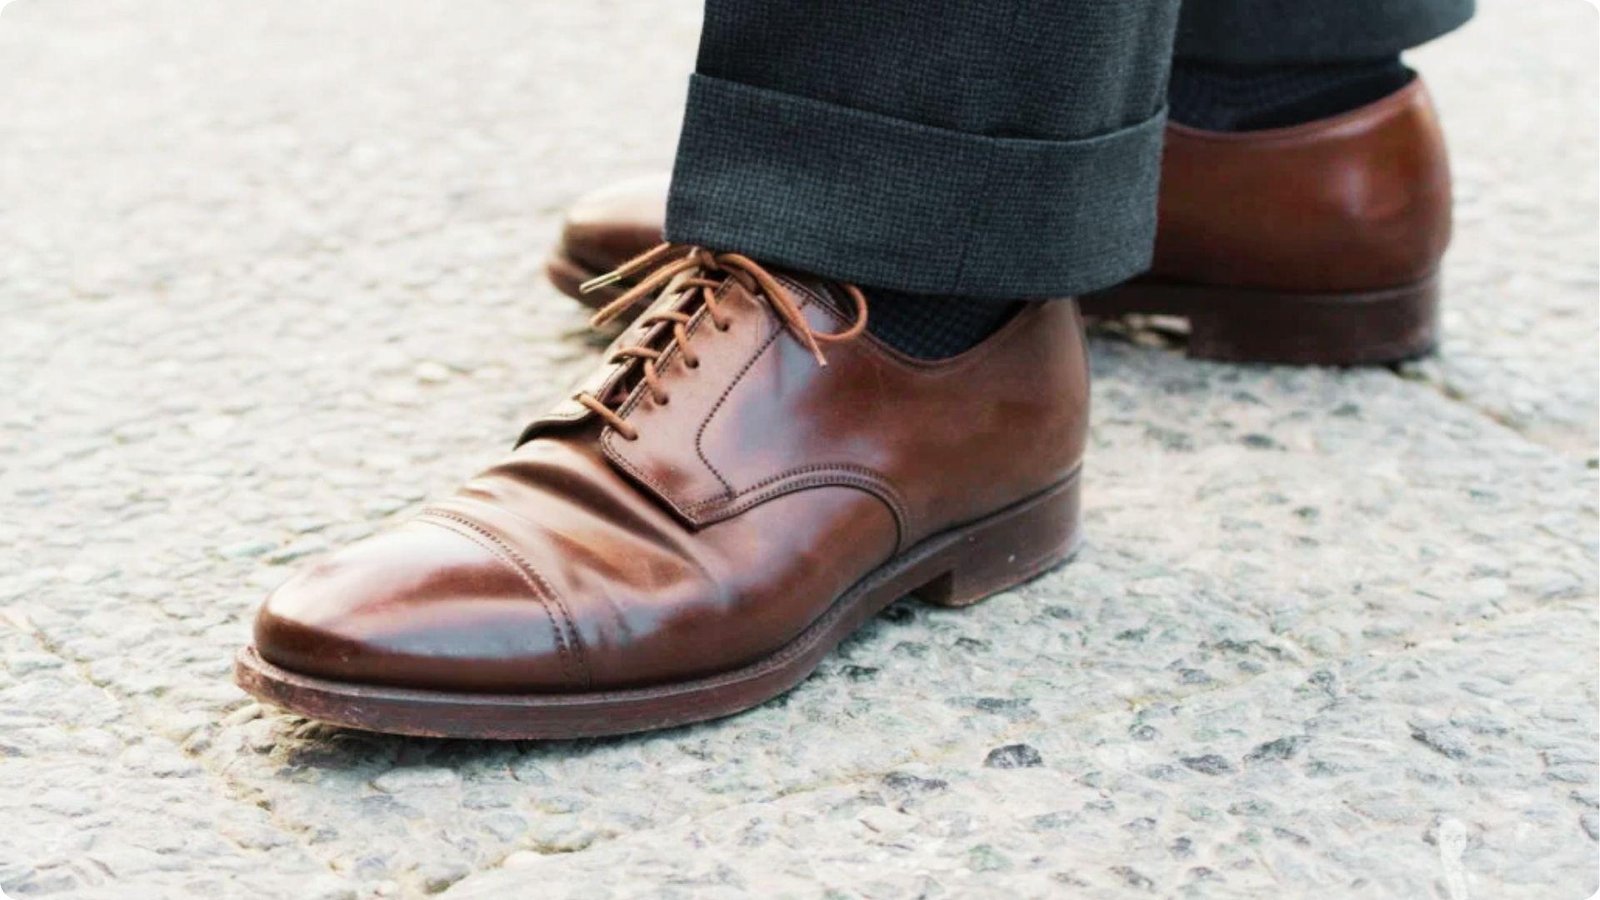
Plain Hem vs. Cuffed Hem Explained
A plain hem is a clean fold at the bottom and works for almost every occasion. A cuffed hem has a folded band on the outside and gives a classic, formal look that suits wider leg pants.
What Works Best for Formal vs. Casual Dress Pants
Formal pants look best with a plain hem and a half break for a clean, polished finish. Casual pants give you more room to try a no break hem or a cuff for a relaxed, put-together look.
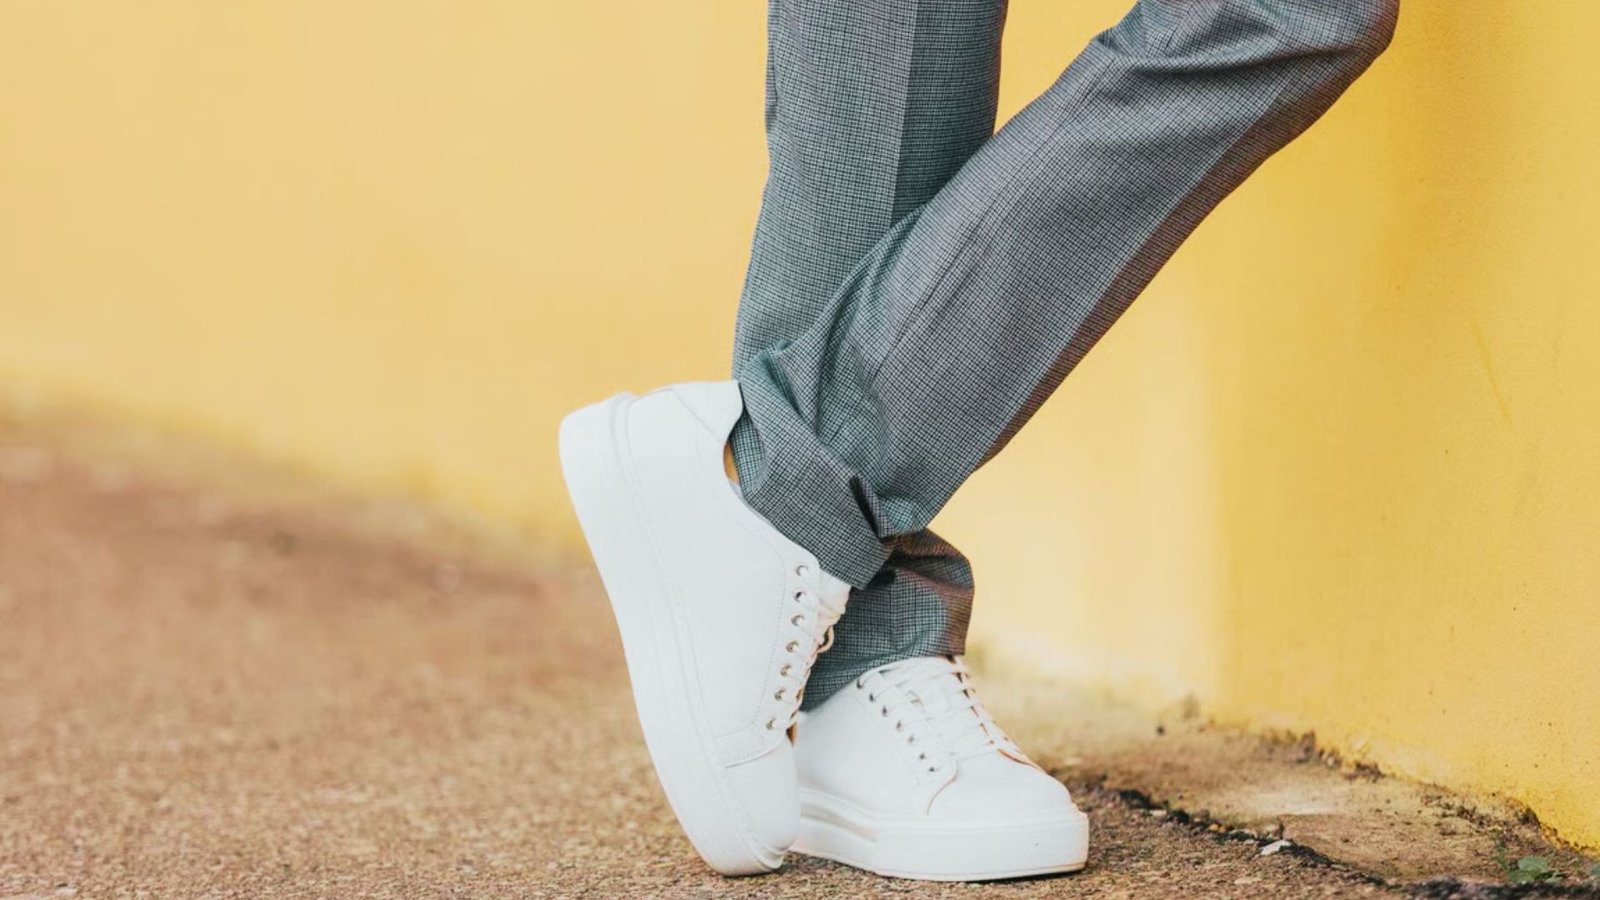
How Shoe Type Affects Hem Length
Low dress shoes need a shorter hem, while chunky boots let you wear the pants a little longer. Always check the length while wearing the exact shoes you plan to use.
Pro Tips for a Perfect Dress Pant Hem
Keep these simple tips in mind for a clean and lasting hem.
- Always mark the hem length while standing and wearing the shoes you plan to use.
- Use thread that matches your pants so the stitches stay hidden from the outside.
- Press the fold with an iron before and after sewing for a sharp finish.
- Leave at least one inch of seam allowance so you can adjust the length later.
- Sew small, even stitches all the way around for a hem that holds and looks clean.
Conclusion
Hemming dress pants at home is easier than most people think. I was nervous the first time I did it, but going step by step made the whole process simple and satisfying.
Once you get it right, you will never pay for a tailor again for something this straightforward.
Take your time with the measuring and pressing, and the rest falls into place. Give it a try on your next pair. If this guide helped you, share it with a friend or drop a comment below.
Frequently asked questions
Can I hem dress pants without a sewing machine?
Yes, you can hem dress pants by hand using a needle and thread. A blind stitch works best to keep stitches hidden on the outside.
What is the easiest way to hem dress pants by hand?
Use a blind stitch or slip stitch. Fold the fabric, pin it in place, and sew small even stitches while catching just a little of the outer fabric.
How much fabric should I leave for hemming?
Leave about one to one and a half inches below the new hem line. This gives you enough room to fold, sew, and adjust later if needed.
What stitch is best for hemming dress pants?
A blind stitch is the best choice as it stays nearly invisible from the outside. A straight stitch on a sewing machine also works well for a clean finish.
How long does it take to hem dress pants at home?
It takes about 30 to 45 minutes for beginners. With some practice, you can finish both legs in around 20 minutes or less.