
I used to avoid dresses with ribbon ties completely. One loop always came out bigger, the knot sat off-center, and the whole thing looked rushed. It put me off for a long time.
Then I figured out that how to tie a bow on a dress properly comes down to a few simple steps most people skip entirely. Once I got those right, everything changed.
The bow looked clean, sat perfectly, and actually held throughout the day. Sound familiar?
If you have been struggling with the same thing, you are in the right place. Everything you need to know is right here.
What You Need Before Tying a Bow on a Dress
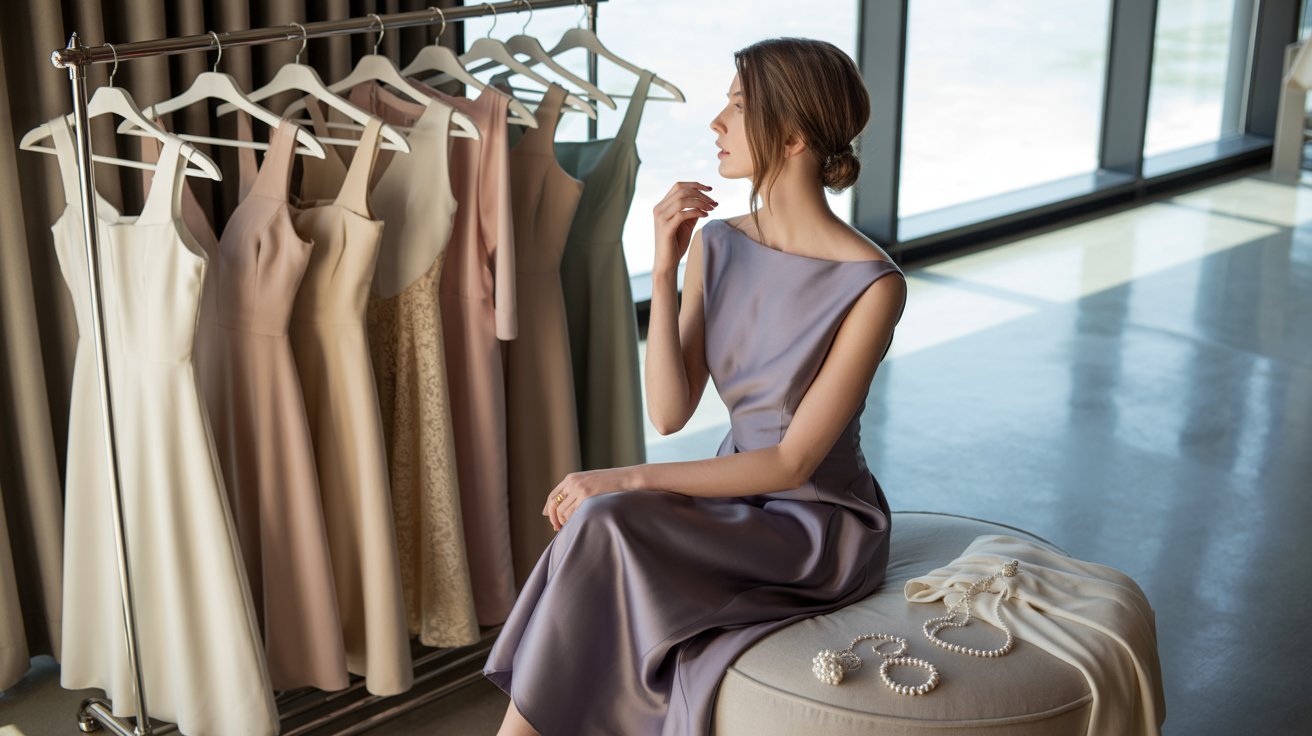
Before anything else, check your fabric. Smooth, non-slippery fabrics like cotton or satin hold a bow much better than chiffon or silk. Lightweight fabrics tend to slip, so you may need extra support.
Make sure both sides of the ribbon or waist tie are the same length before you start. Uneven lengths are the number one reason bows come out looking messy.
Stand in front of a mirror. It helps you see both sides at the same time and catch any imbalance as you go.
Good lighting also matters more than you think. Tying a bow in dim light makes it hard to spot symmetry issues until it is too late.
Step-by-Step Guide on How to Tie a Bow on a Dress
Learning how to tie a bow on a dress is much easier when you break it down into clear steps. Go through each one slowly the first time and it will start to feel natural quickly.
Step 1: Position the Dress Tie Correctly
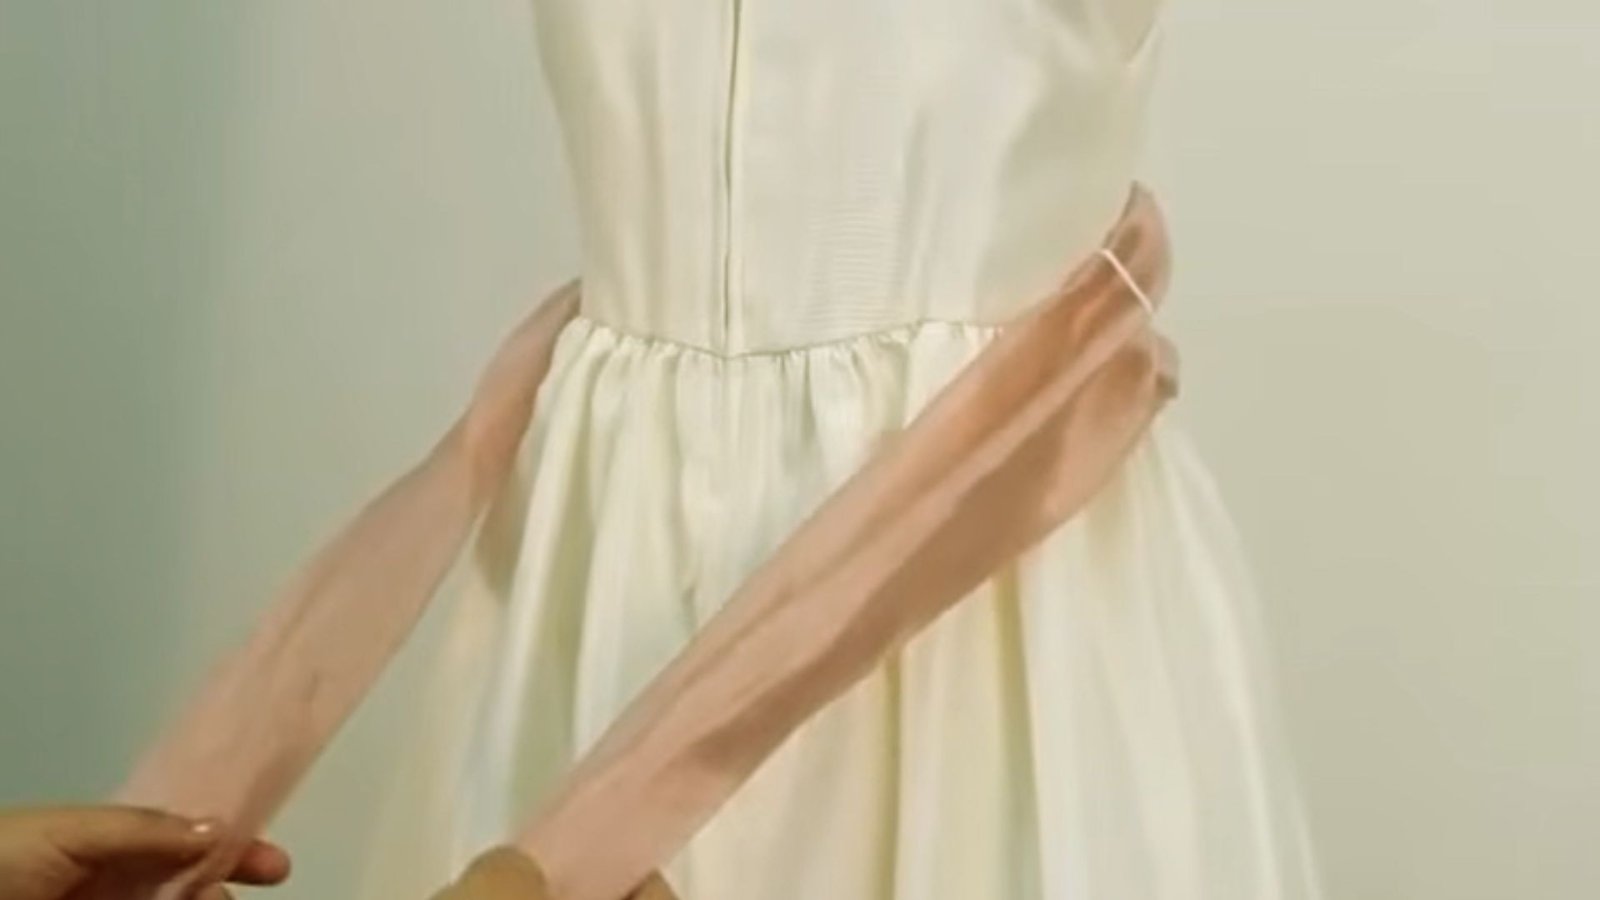
Start by holding both sides of the ribbon or belt at equal lengths. Do not skip this part. If one side is longer than the other from the start, the finished bow will be uneven.
Let both ends hang naturally at your waist or wherever the tie sits on the dress. Take a moment to adjust before moving forward.
Step 2: Cross the Straps
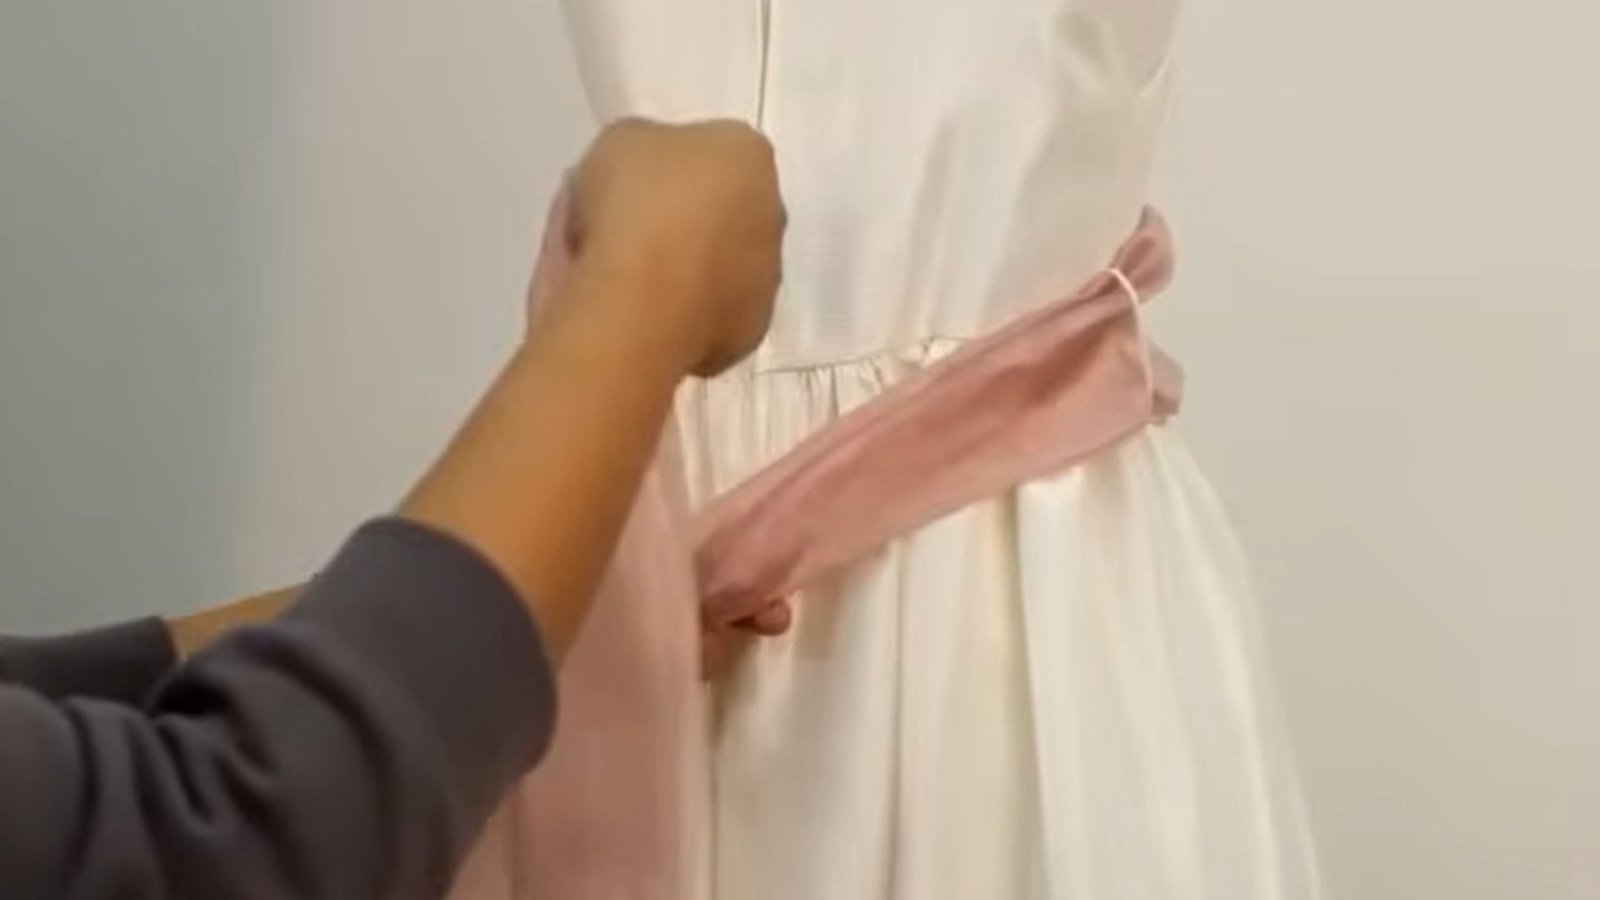
Take one side and cross it over the other, just like the first step of tying a shoelace. Pull both ends gently to form a snug base knot at the waist.
Do not pull too tight here. You want it secure but not so tight that it distorts the fabric or feels uncomfortable.
Step 3: Create the First Loop
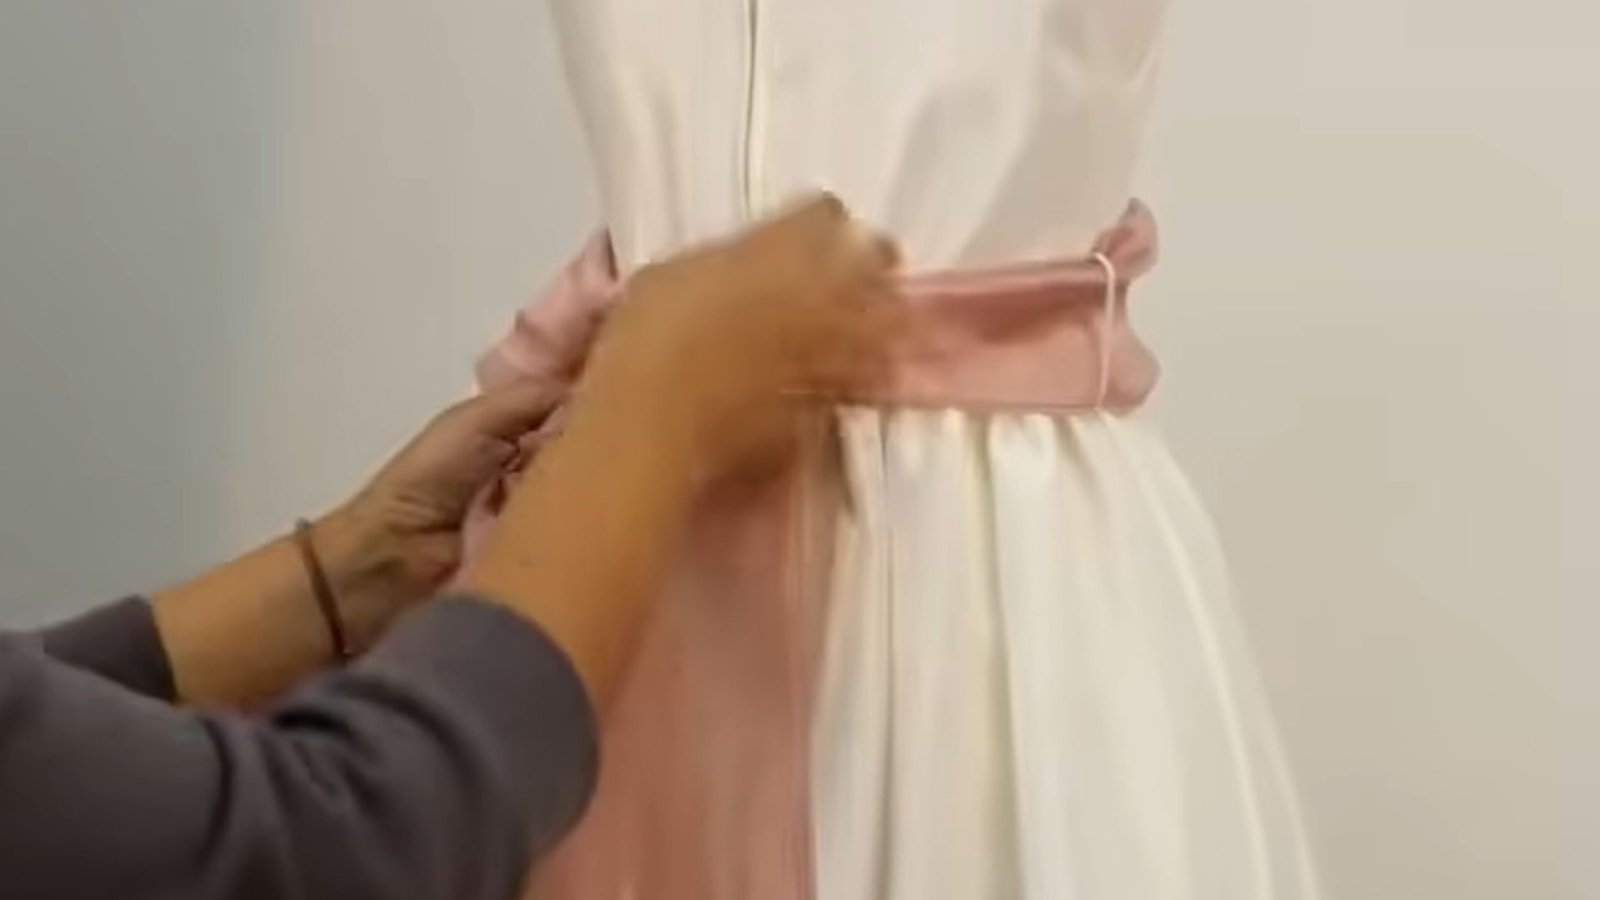
Take one end and fold it into a loop. Hold that loop firmly between your thumb and index finger. Keep it at the size you want for the finished bow.
Bigger loops make a more dramatic bow. Smaller loops give a neater, more minimal look. Decide on your size here before moving to the next step.
Step 4: Wrap and Form the Second Loop
Take the other end and wrap it around the base of the first loop. Then push it through the gap to form the second loop.
Pull that second loop through slowly and evenly. Rushing this step is what causes one loop to come out much smaller than the other.
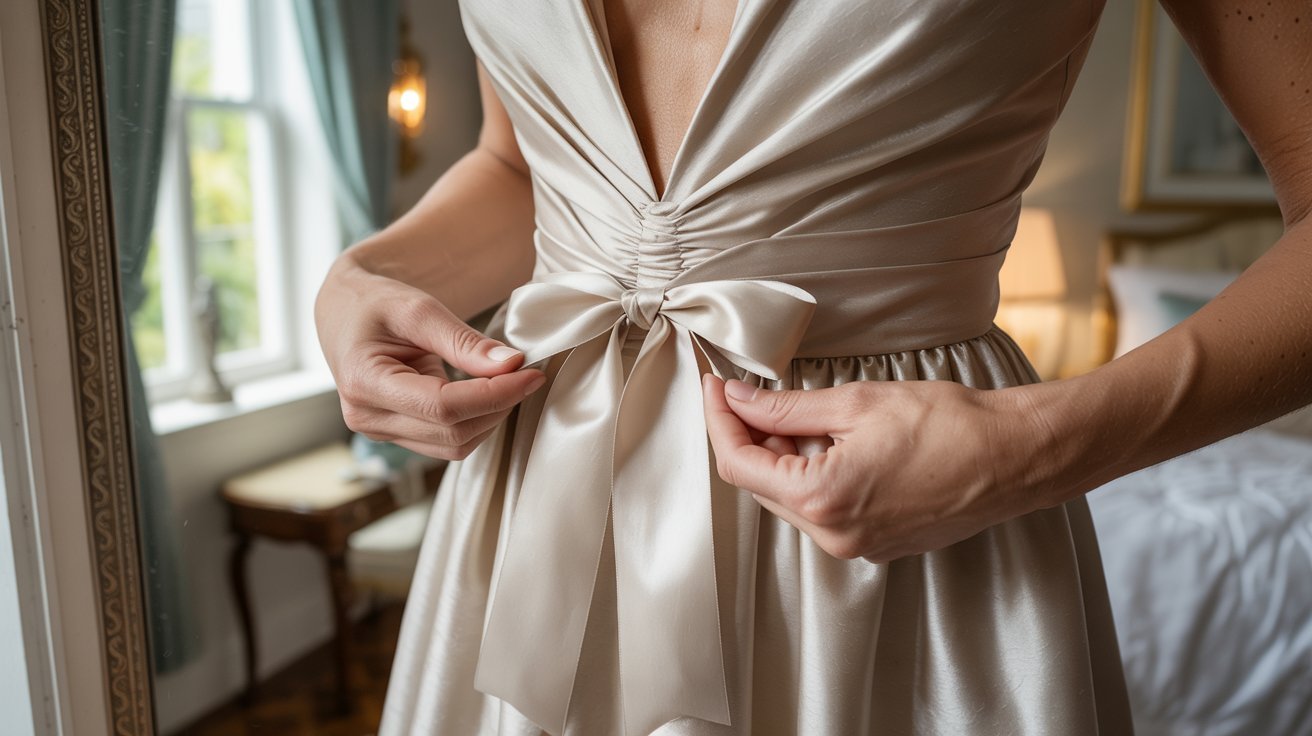
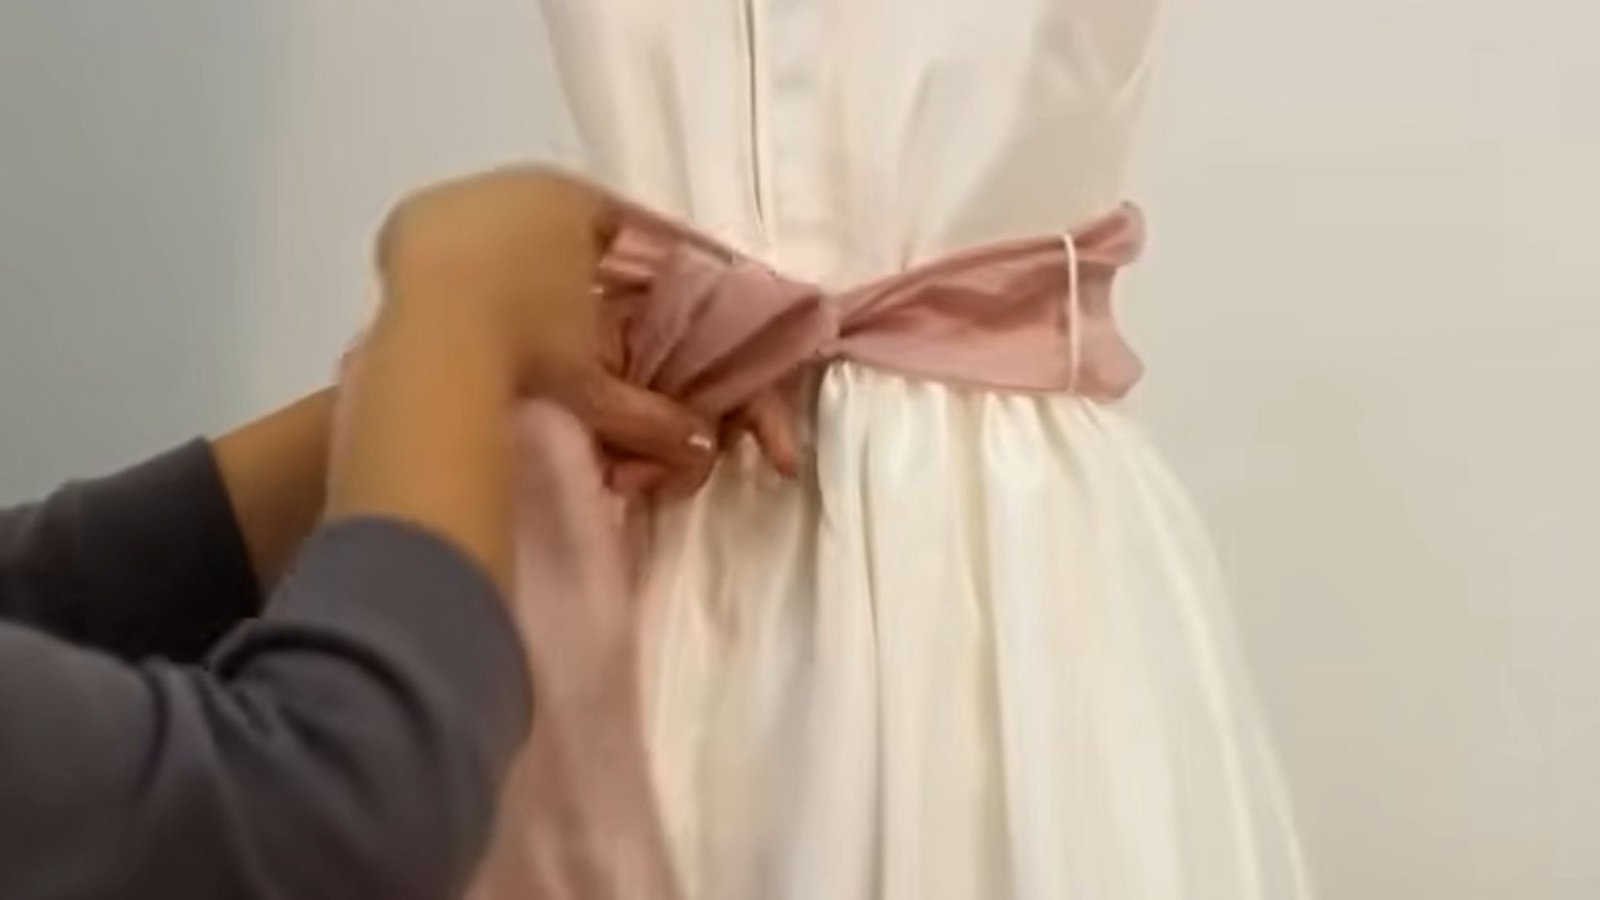
Step 5: Adjust and Balance the Bow
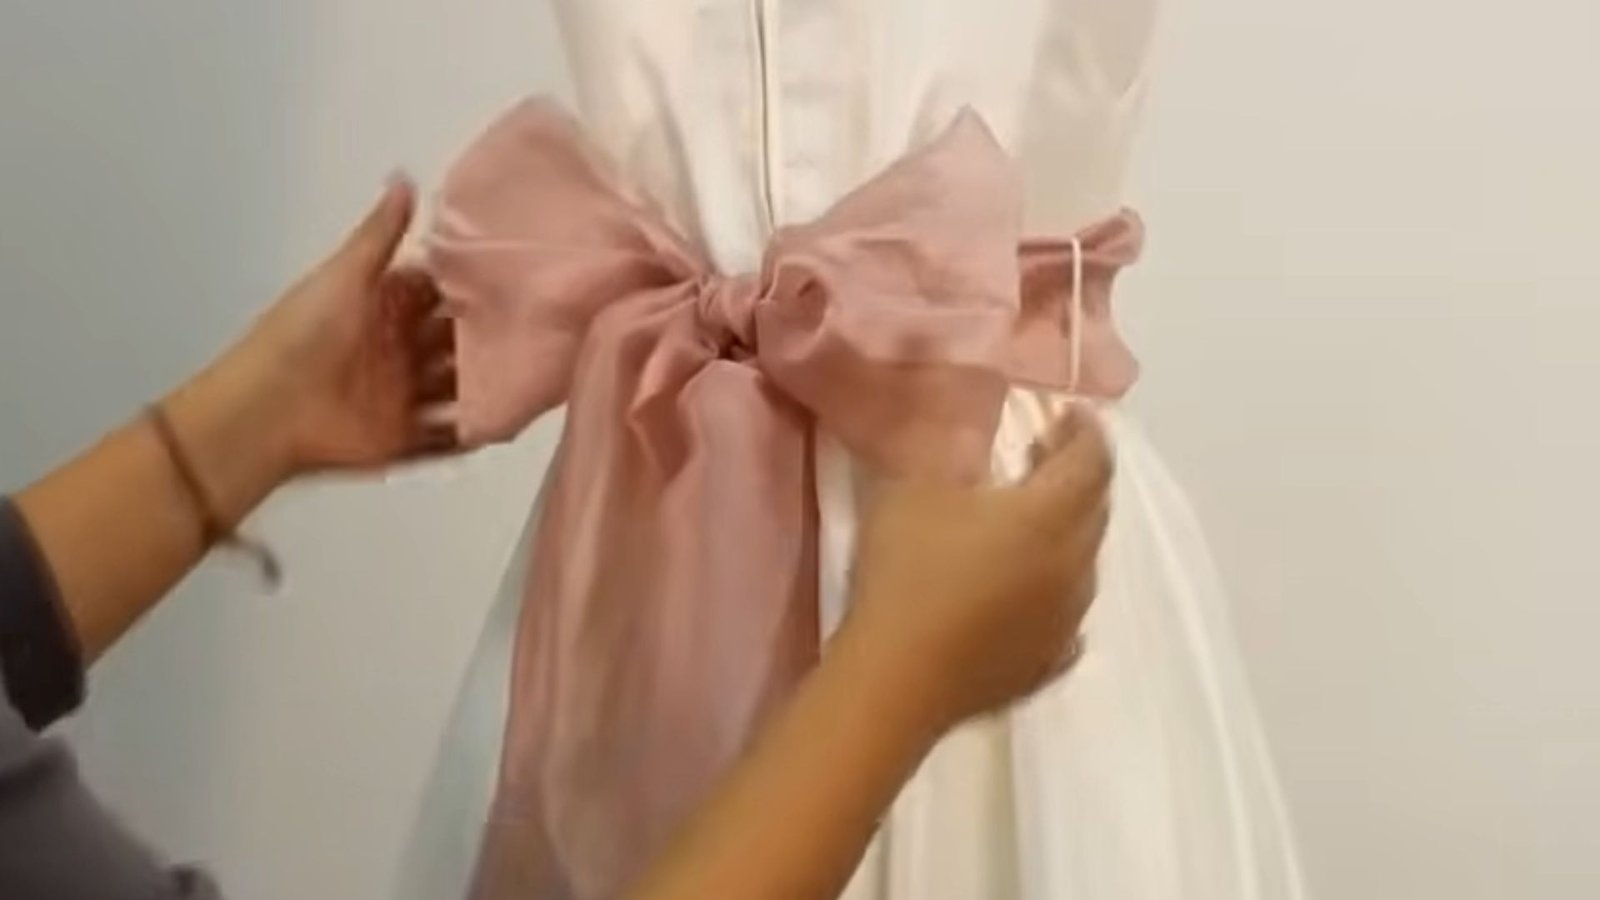
Once both loops are formed, gently pull each one outward to even them out. Tighten the center knot slightly at the same time to hold everything in place.
Step back and look in the mirror. Make small adjustments rather than pulling hard. Gradual tugging gives you much more control over the final shape.
Popular Bow Styles for Dresses
Not all bows are the same. The style you choose changes the whole feel of the outfit, so it is worth knowing your options before you tie.
- Side bow: Casual and relaxed, great for daytime outfits and everyday dresses.
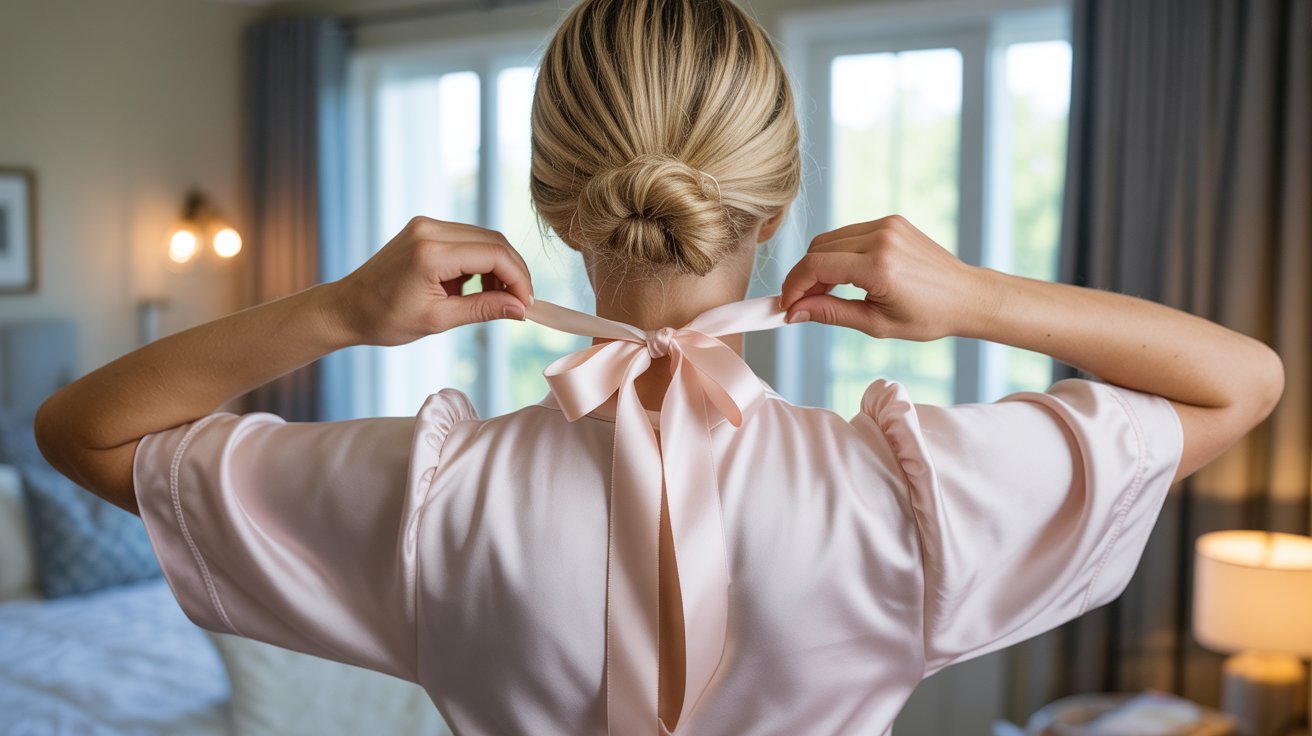
- Back bow: Polished and formal, works well with evening gowns and occasion wear.
- Front bow: Bold and eye-catching, often used as a statement feature on dresses.
- Small minimal bow: Subtle and clean, ideal for work settings or professional events.
- Oversized bow: Dramatic and fun, perfect for parties, events, or making a strong impression.
Each style suits a different occasion. Once you are comfortable with the basic technique, switching between these styles becomes very easy.
Tips to Make Your Dress Bow Look Perfect
The steps get you most of the way there. These small details take it the rest of the way. A little extra attention here makes a noticeable difference in the final look.
- Even out ribbon lengths first. Always do this before you start. It saves you from fixing problems at the end.
- Use firmer fabric for structured bows. Stiffer ribbons hold their shape better and look cleaner once tied.
- Double knot for slippery materials. If your dress has a silk or chiffon sash, add a second base knot before forming the loops.
- Iron wrinkled ribbons. A creased ribbon shows once the bow is tied. A quick press before you start makes a real difference.
- Adjust loops gradually. Pull slowly and evenly instead of tugging one side at a time.
- Keep checking symmetry. Step back from the mirror regularly as you adjust. It is easier to spot imbalance from a slight distance.
Small fixes done at the right time save you from redoing the whole bow. Build these habits into your routine and it gets faster every time.
Styling Ideas for Different Occasions
Knowing how to tie a bow on a dress is only part of it. Knowing which bow style fits which occasion helps you put the whole look together with intention.
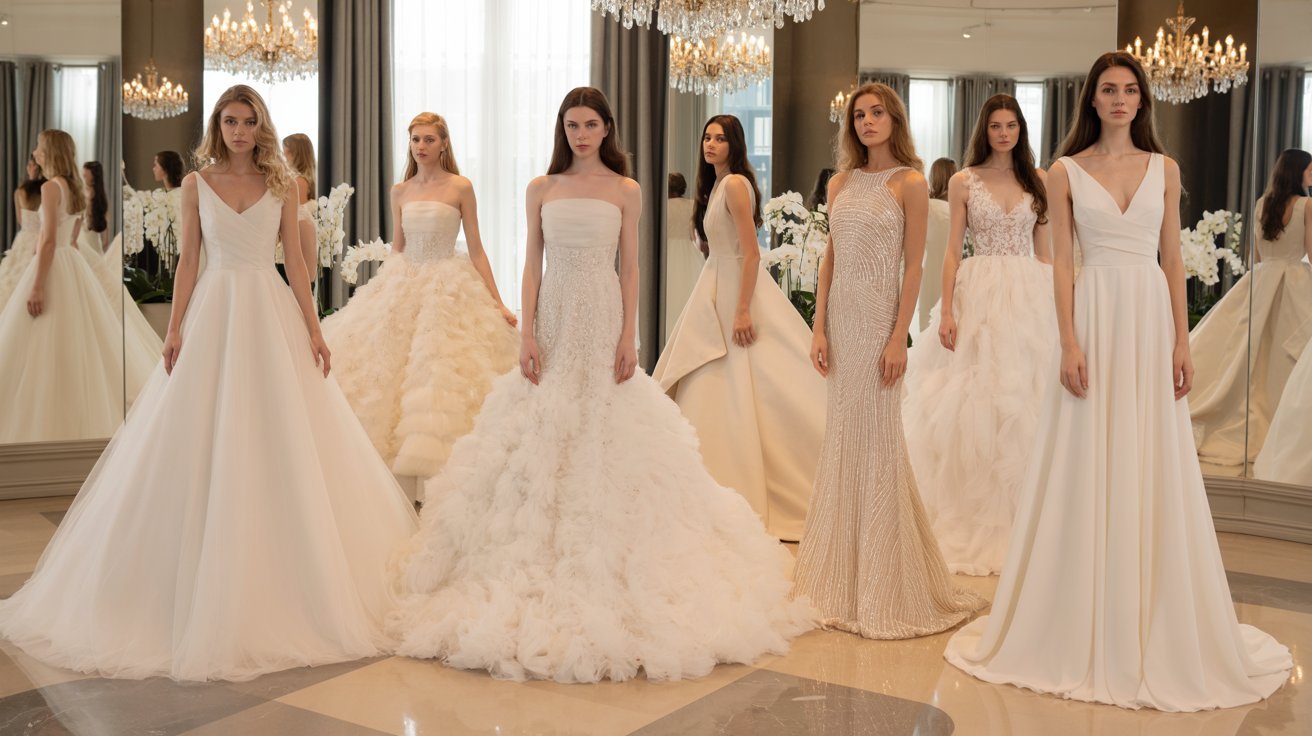
- Weddings: A soft satin back bow adds a clean, formal finish without being overdone.
- Parties: An oversized side bow adds drama and personality to an evening outfit.
- Work events: A small front bow keeps things professional and polished without drawing too much attention.
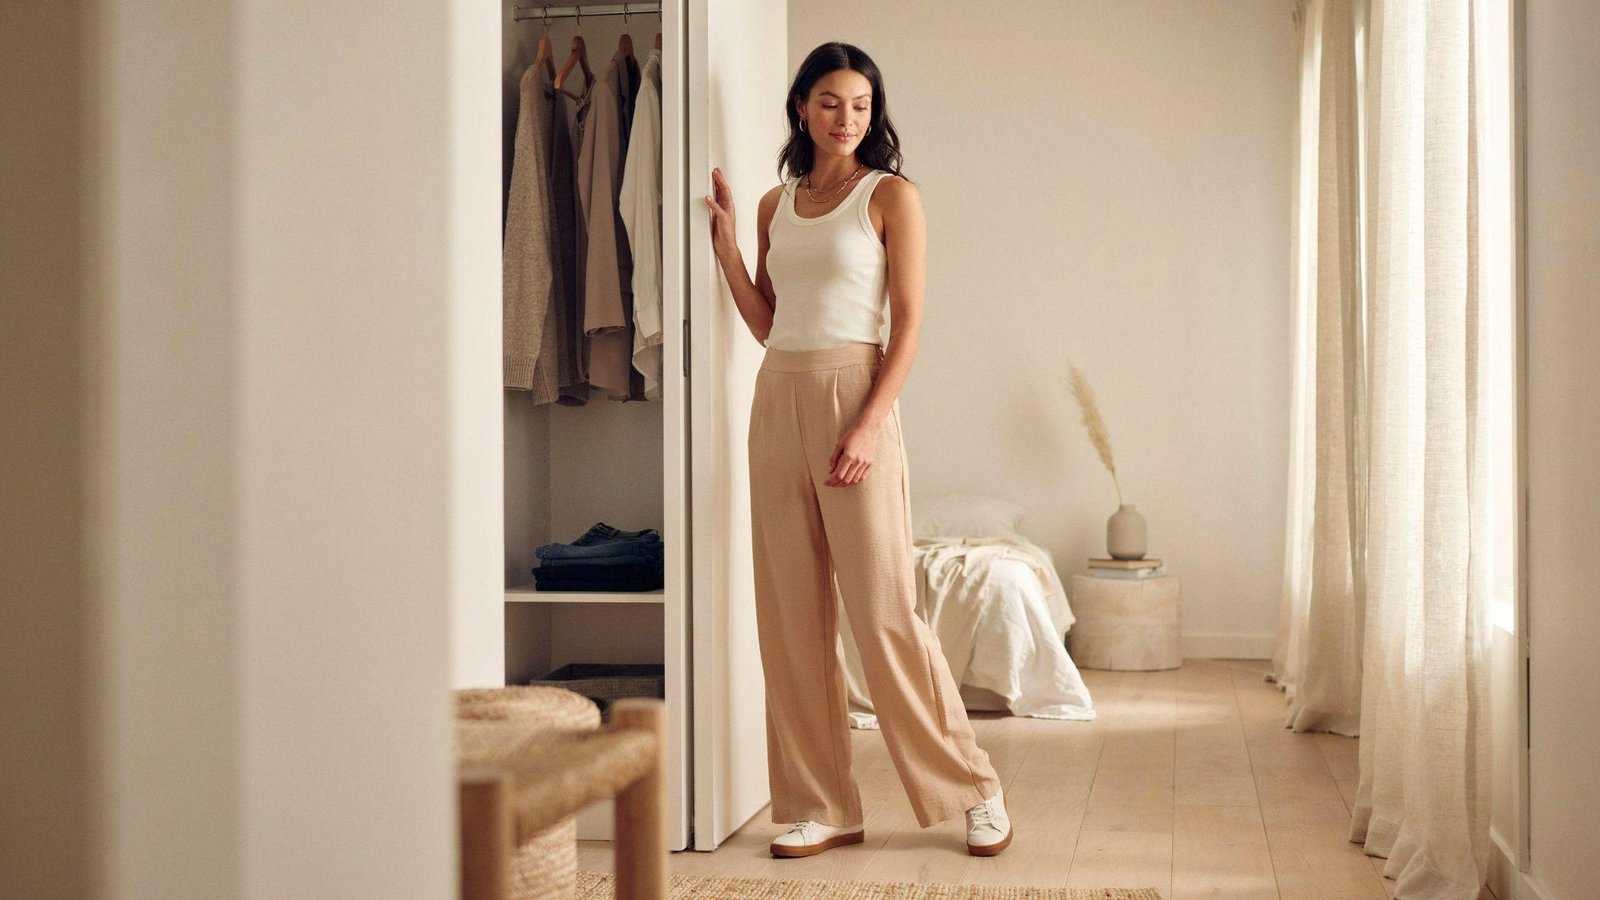
- Casual outings: A relaxed side knot feels effortless and works well with day dresses or sundresses.
- Date nights: A delicate waist bow adds a feminine, put-together touch without looking overdressed.
Your bow placement and size speak louder than most people realize. Matching the style to the occasion shows you have put real thought into the look.
Conclusion
A well-tied bow can change an entire outfit. I know because I used to get it wrong every time until I slowed down and paid attention to the details.
Now it takes me less than a minute. Once you get the hang of how to tie a bow on a dress, you will wonder why it ever felt tricky.
Try it on your next outfit and see what a difference it makes.
Which bow style are you going to try first? Drop it in the comments. I would love to know.
Frequently Asked Questions
How Do I Keep a Bow on a Dress From Coming Undone?
Use a double knot at the base before forming your loops. A slightly tighter base knot adds extra hold without affecting the look.
What Is the Easiest Way for Beginners to Learn How to Tie a Bow on a Dress?
Start with the loop-and-cross method in front of a mirror for better control. Practicing on a flat surface first also helps build the muscle memory.
Why Does My Dress Bow Look Uneven?
Uneven ribbon lengths or rushing through the adjustment stage are usually the main causes. Always measure both sides before starting and adjust loops gradually.
Can I Tie a Bow on Any Type of Dress?
Yes, but structured fabrics like satin and cotton hold bows more cleanly than slippery ones. For lightweight fabrics, a double knot at the base helps a lot.
Where Should the Bow Be Placed on a Dress?
Waist placement works well for an elegant look, side placement suits casual styles, and back placement fits formal wear best. It comes down to the occasion and the dress style.